
So, someone in a chat I’m in bought a SB-220 as a project amp. We were talking about it one day in October and I thought huh, that sounds kind of neat I guess. So I hopped on craigslist and found my own project. A ham out of Wisconsin was selling a Drake L4B amplifier that hadn’t been used in a couple years, and all I knew about it was “It worked when it was put away”. So I did the only logical thing. I hopped in the truck, drove to the next state over and bought it. (Stopping along the way to activate Banning state park K-2467 with AE0KW, and going up to Bear Beach State Natural Area in Wisconsin K-8211) I hadn’t even seen a photo of the amp at this point.
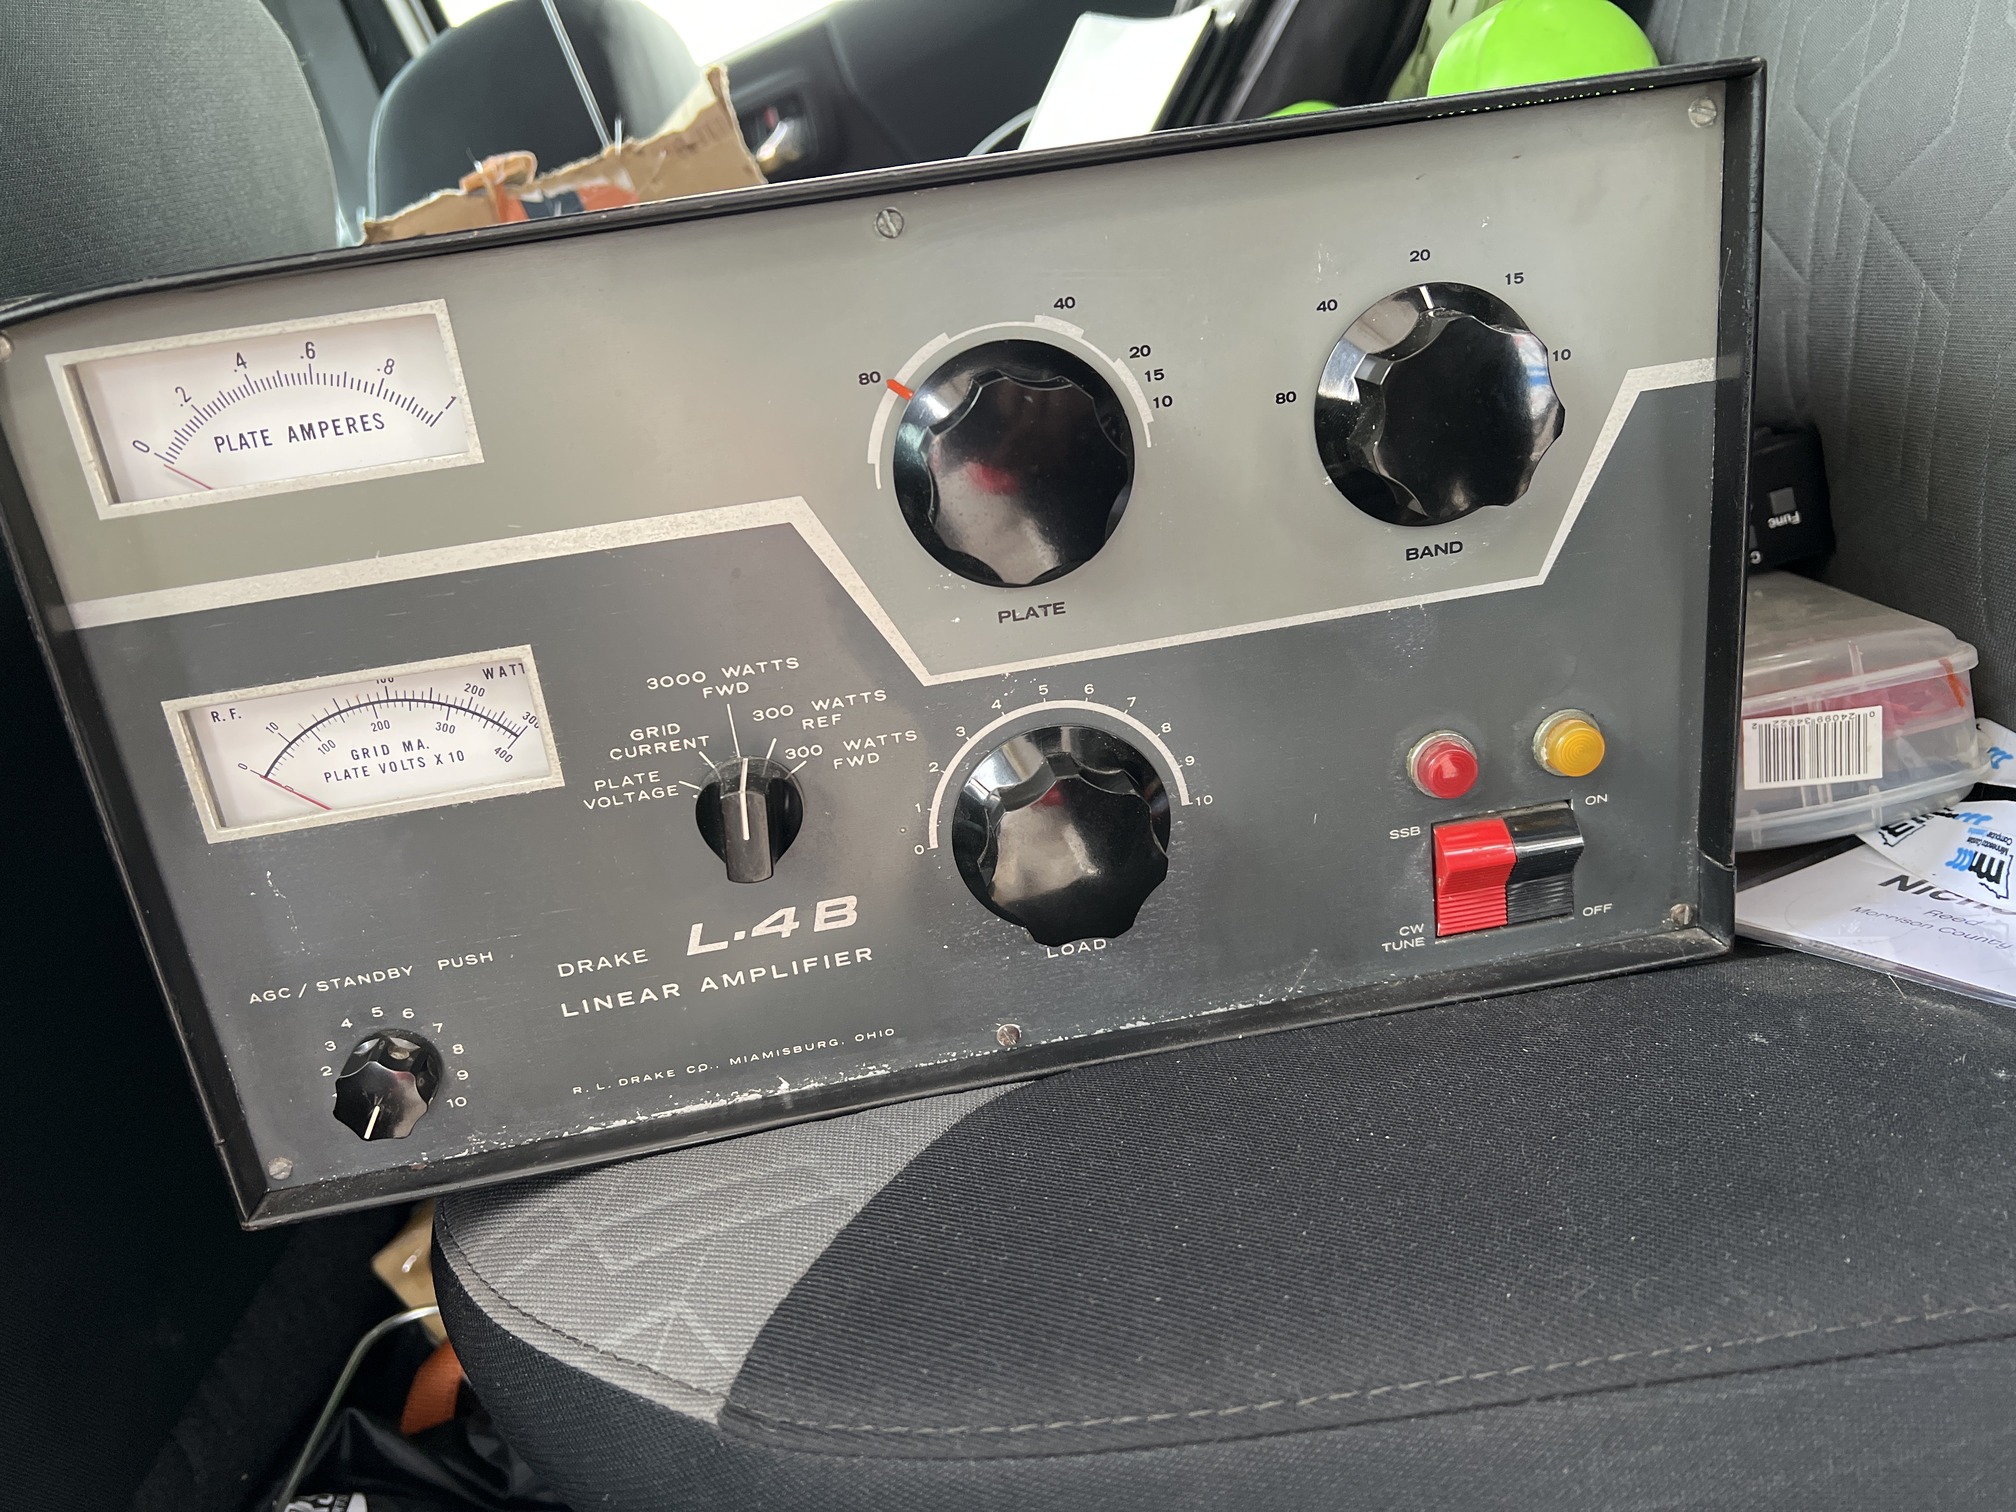

The amp definitely took a little beating to the front panel and a little dent in the top right corner of the cover, but that’s all purely cosmetic. I was very surprised when I opened it up, it had the original EIMAC 3-500Z tubes installed.
I had never taken on a project like this, or really worked on tube equipment in general, so off to google I went!
I found a few known issues with these amps as well as some strongly encouraged upgrades.
- Take inrush current off the power switch, these are unobtanium these days.
- Put protection diodes across the meters, this will protect them from a HV short to ground. (again, these are unobtanium now)
- Install soft start to extend the tubes life.
- Install a soft key as to not put too much voltage into a modern transceiver. (Modern radios don’t like this)
- Replace the worn caps and bleeder resistor bank in the power supply.
- Ground the grids on the tubes
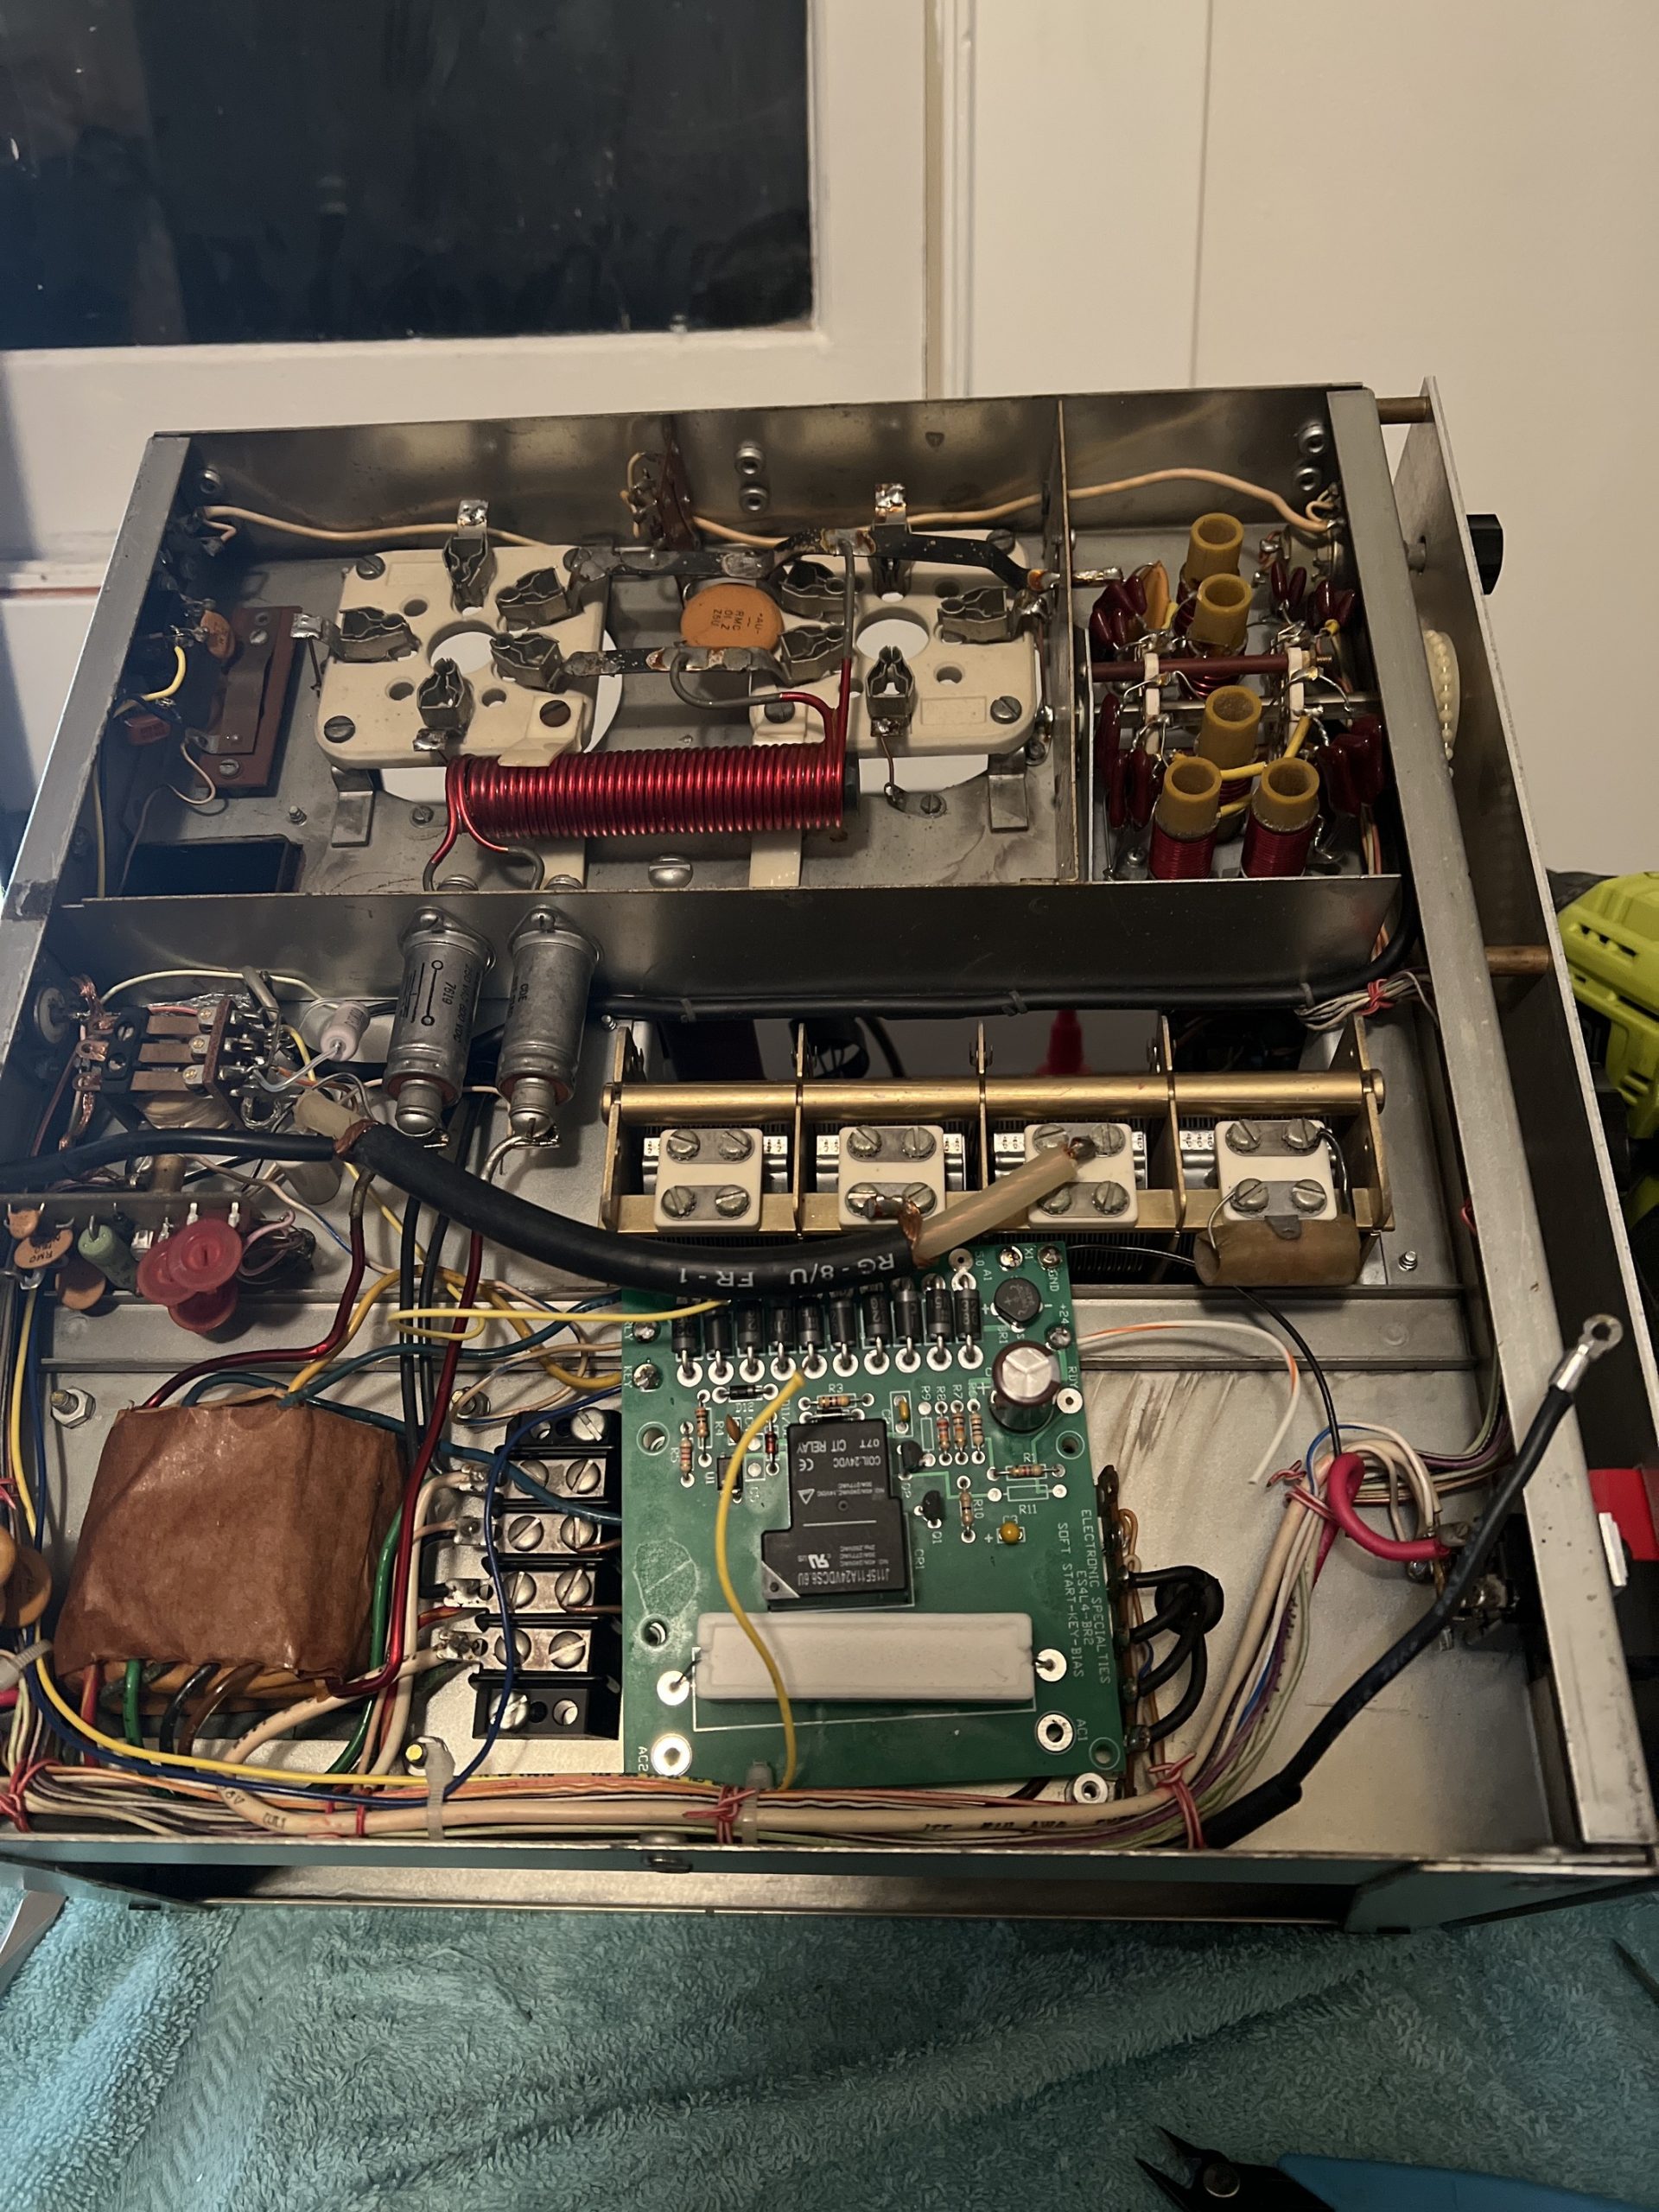
So with this list put together, I began work. I popped the cover off the amp, looked around and a few things stood out. The first thing was someone had already installed a soft-key mod in the amp. This was a old SK-401 kit from Harbach Electronics. Great! this will be replaced with the ES4L4-B Soft-Start/Soft-Key/Bias module anyway. I also noticed the power supply had already been recapped and a new power cord was put on it. Perfect, someone cared for this amp in the past.
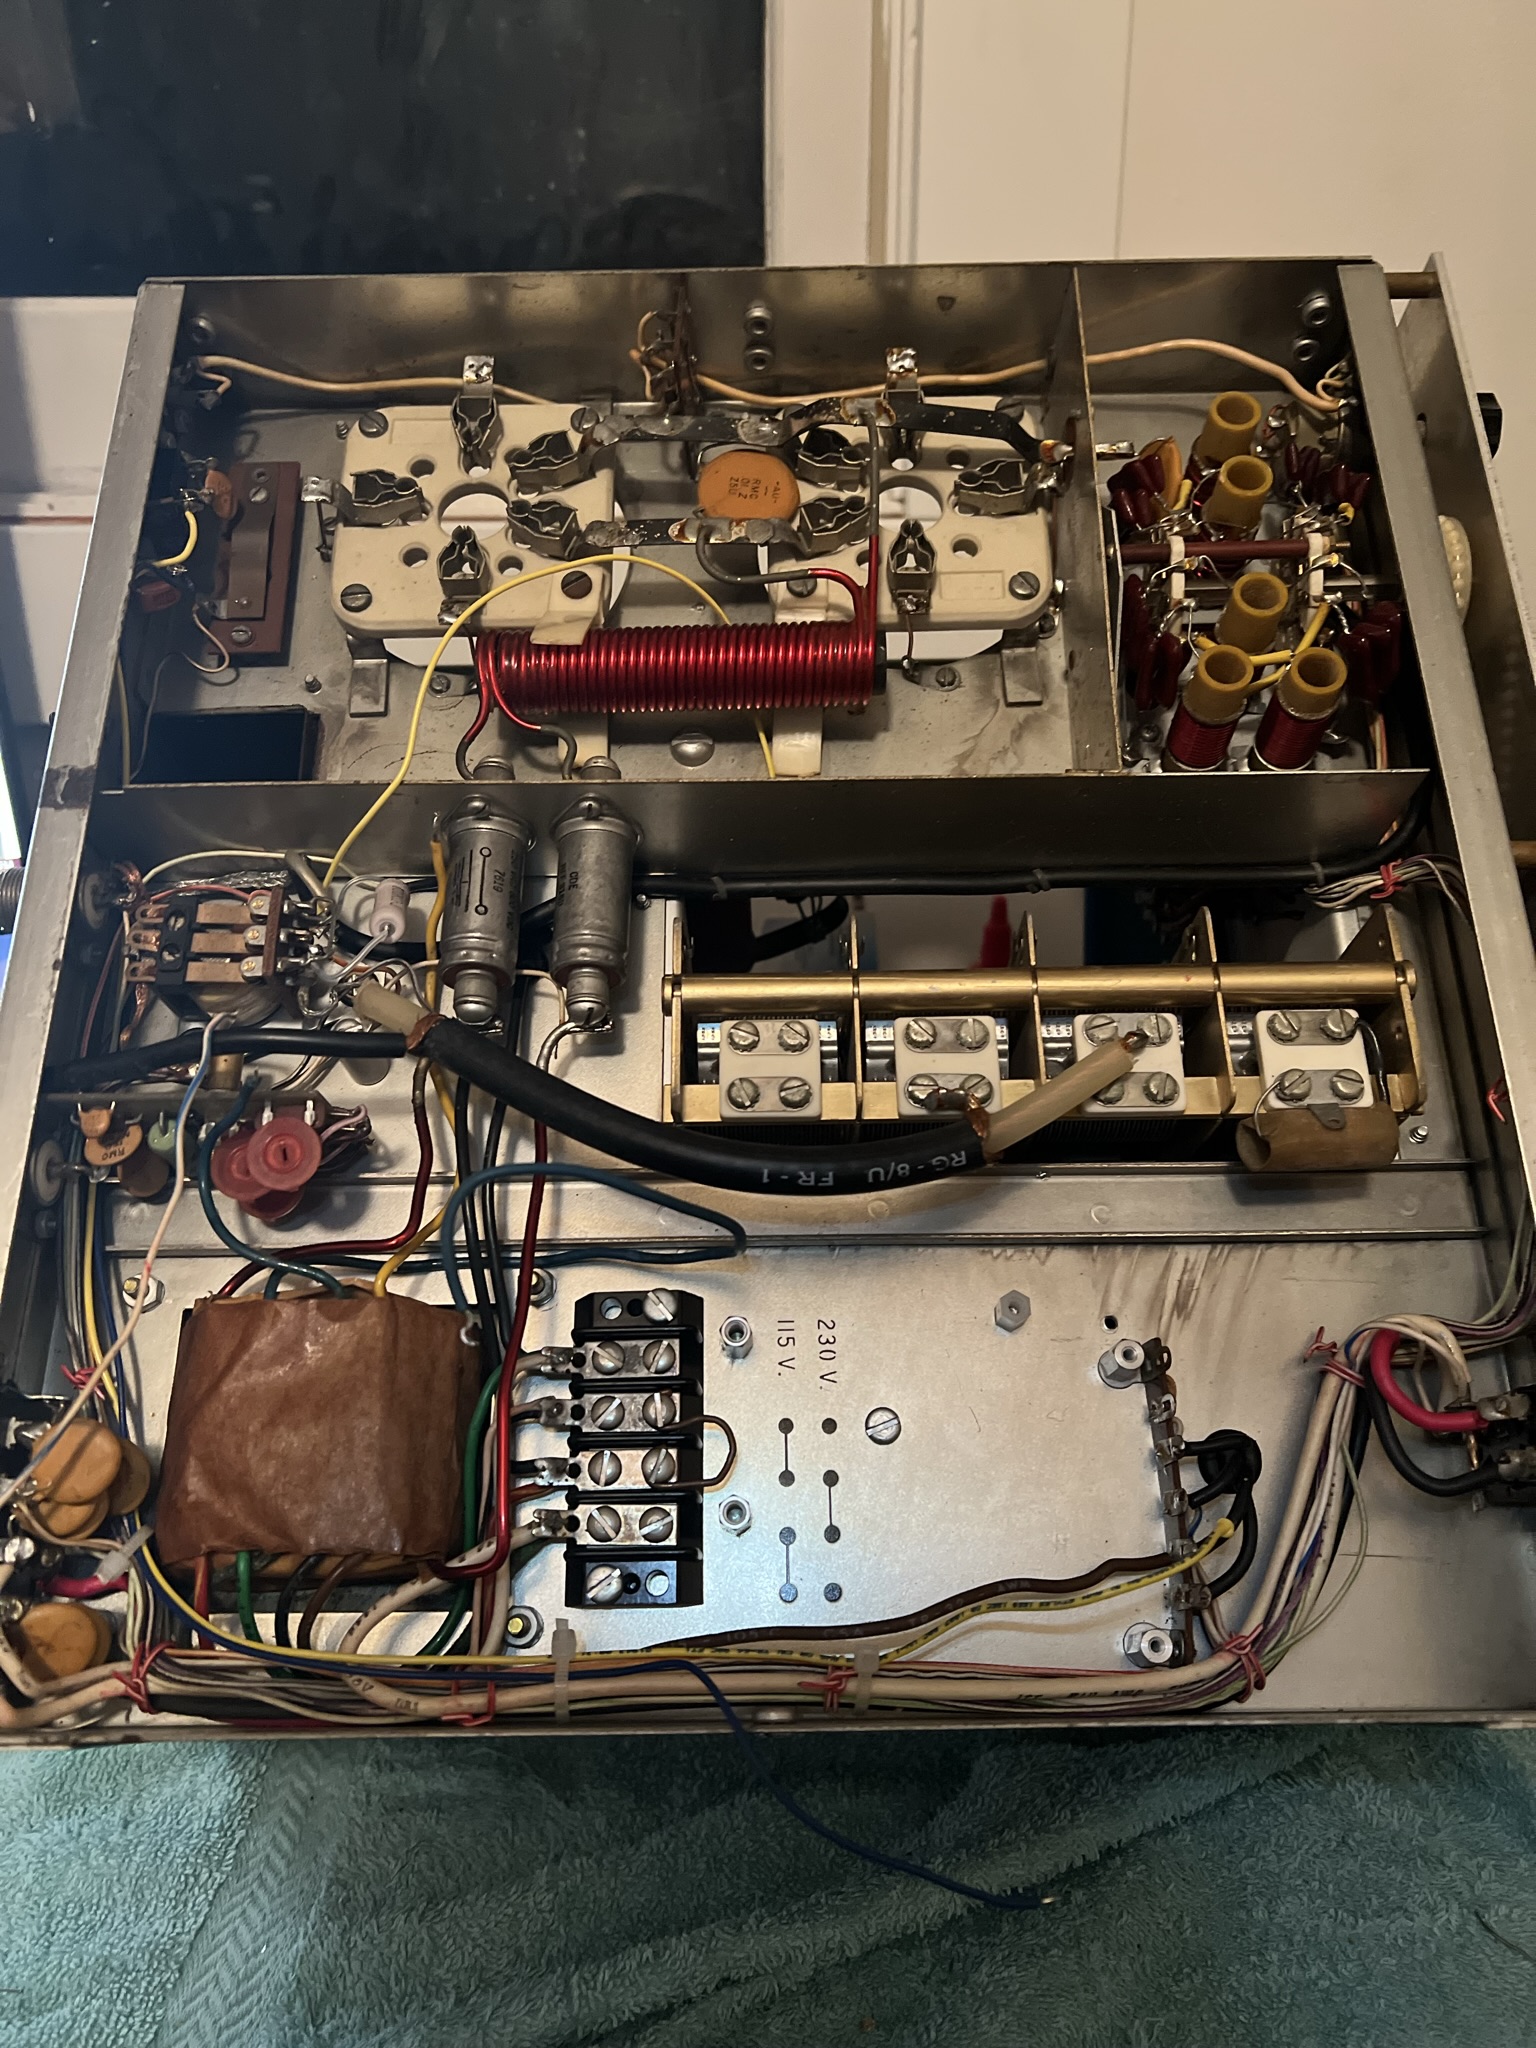
I ordered the ES4L4-B board from Harbach Electronics and prepared to get to work. First thing I did was tear out the caps and coils on the grids of the tubes. I used some short copper wire and ran a very short run straight to the chassis to ground those. Photo below:
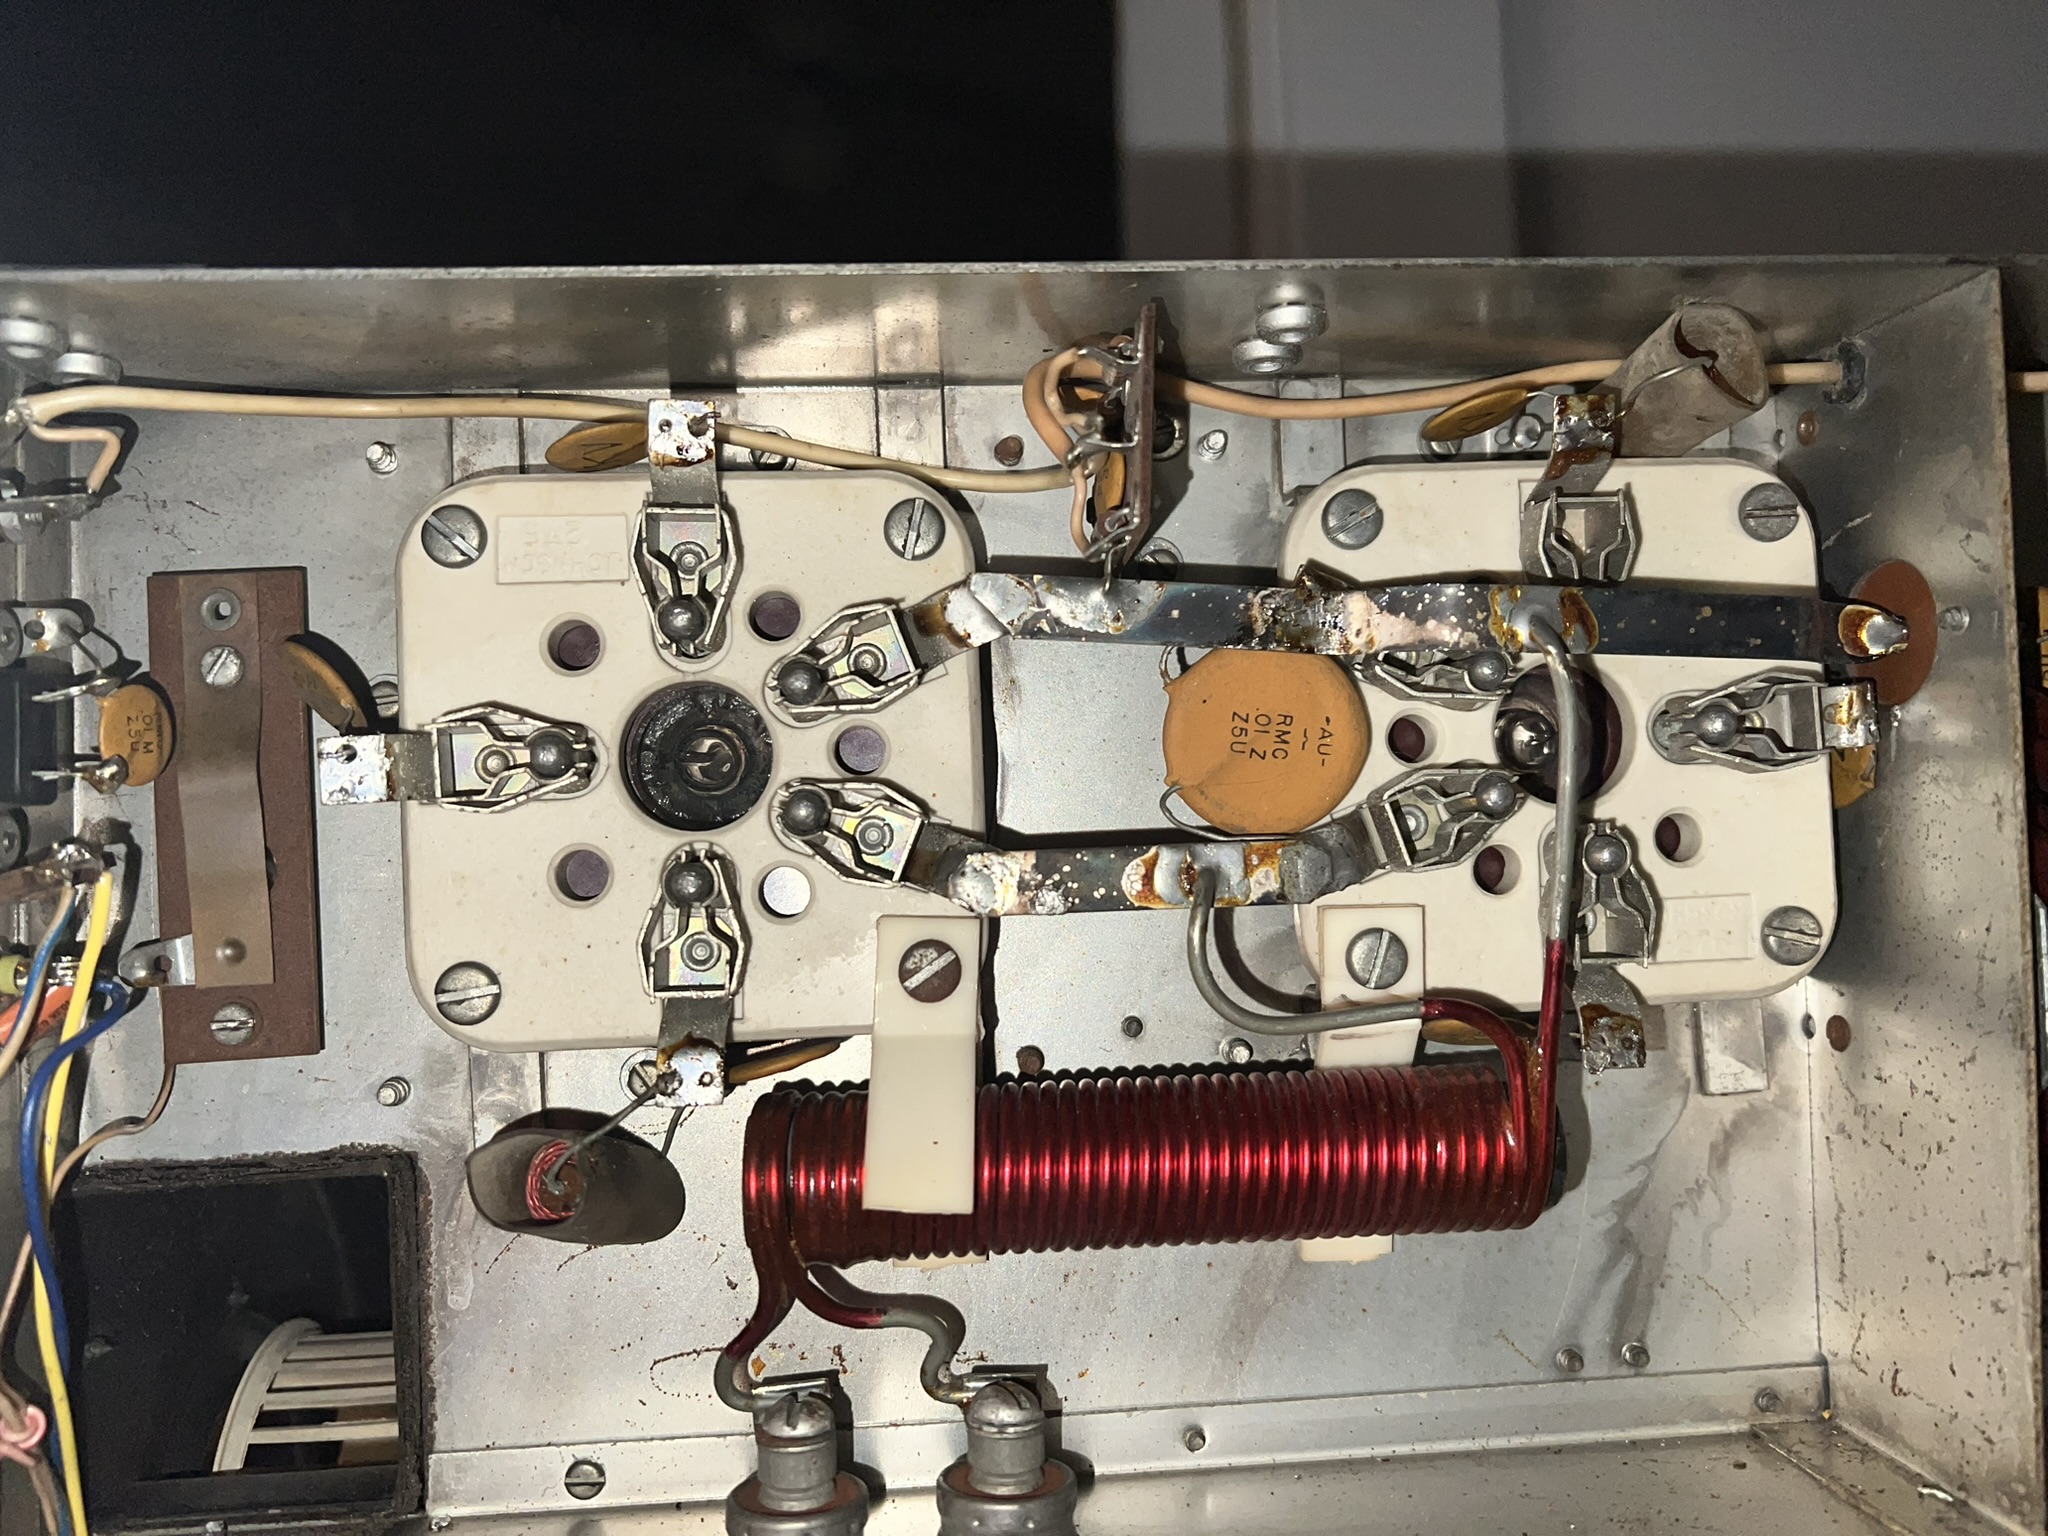
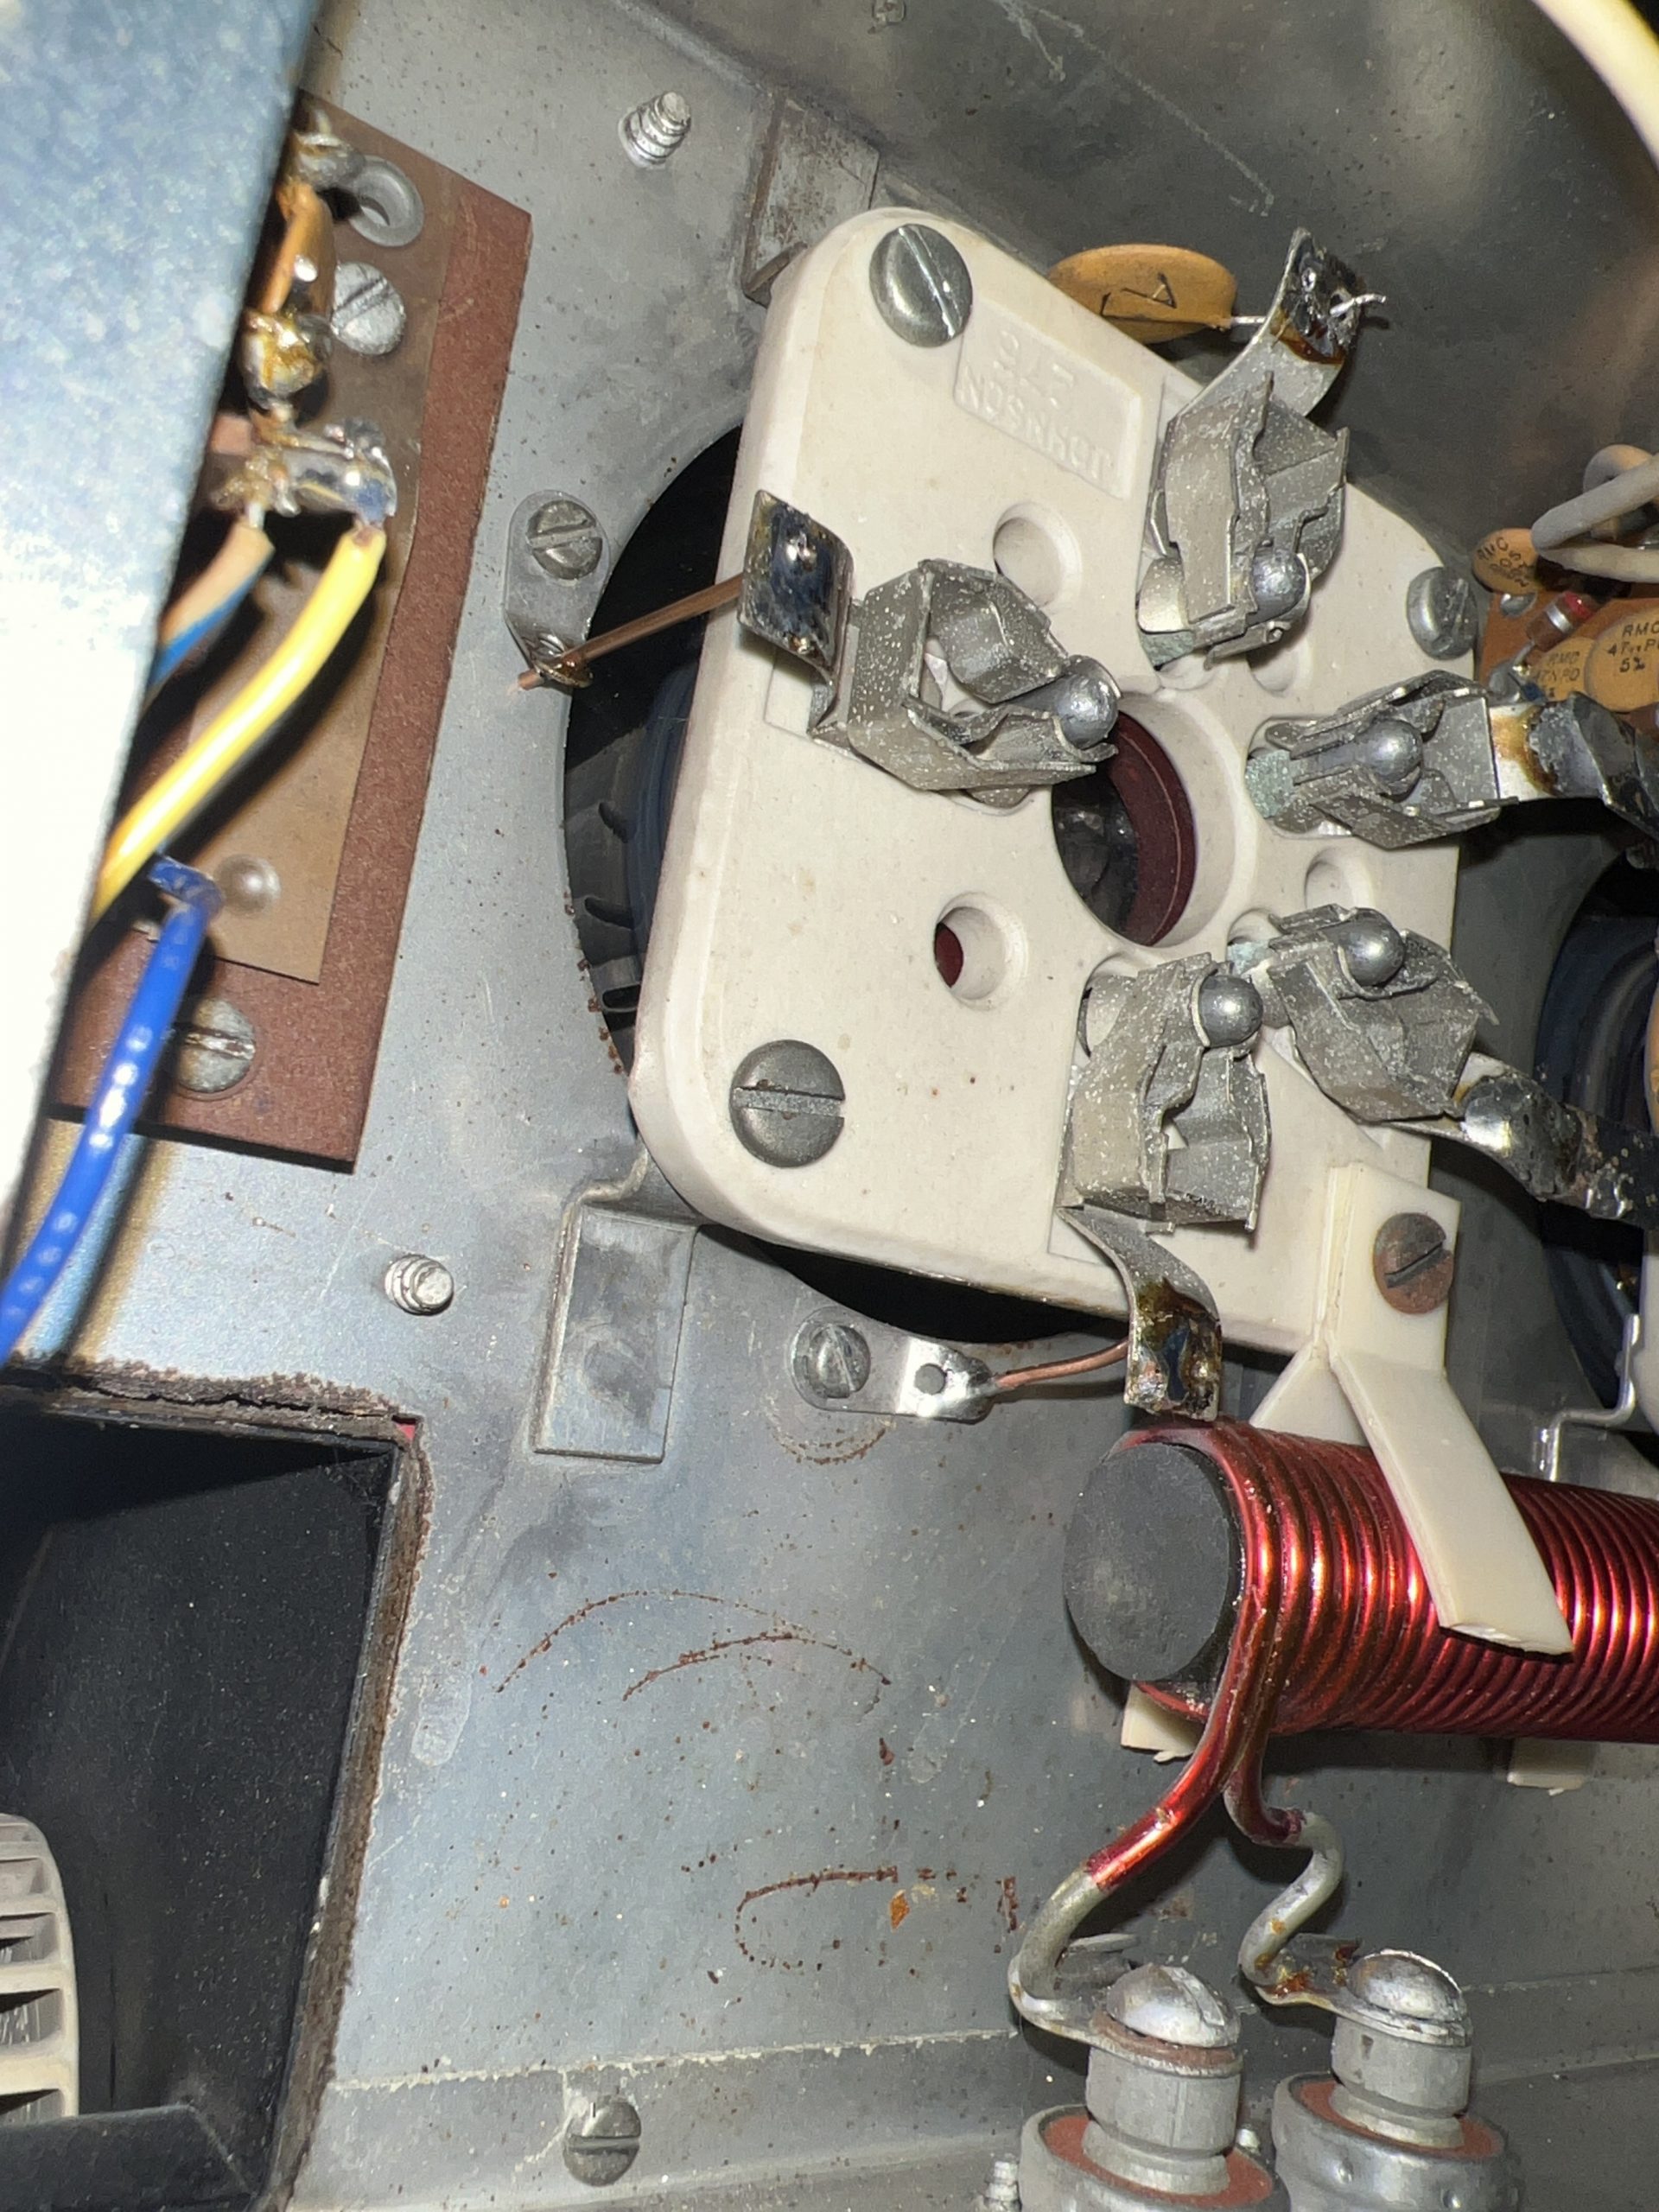
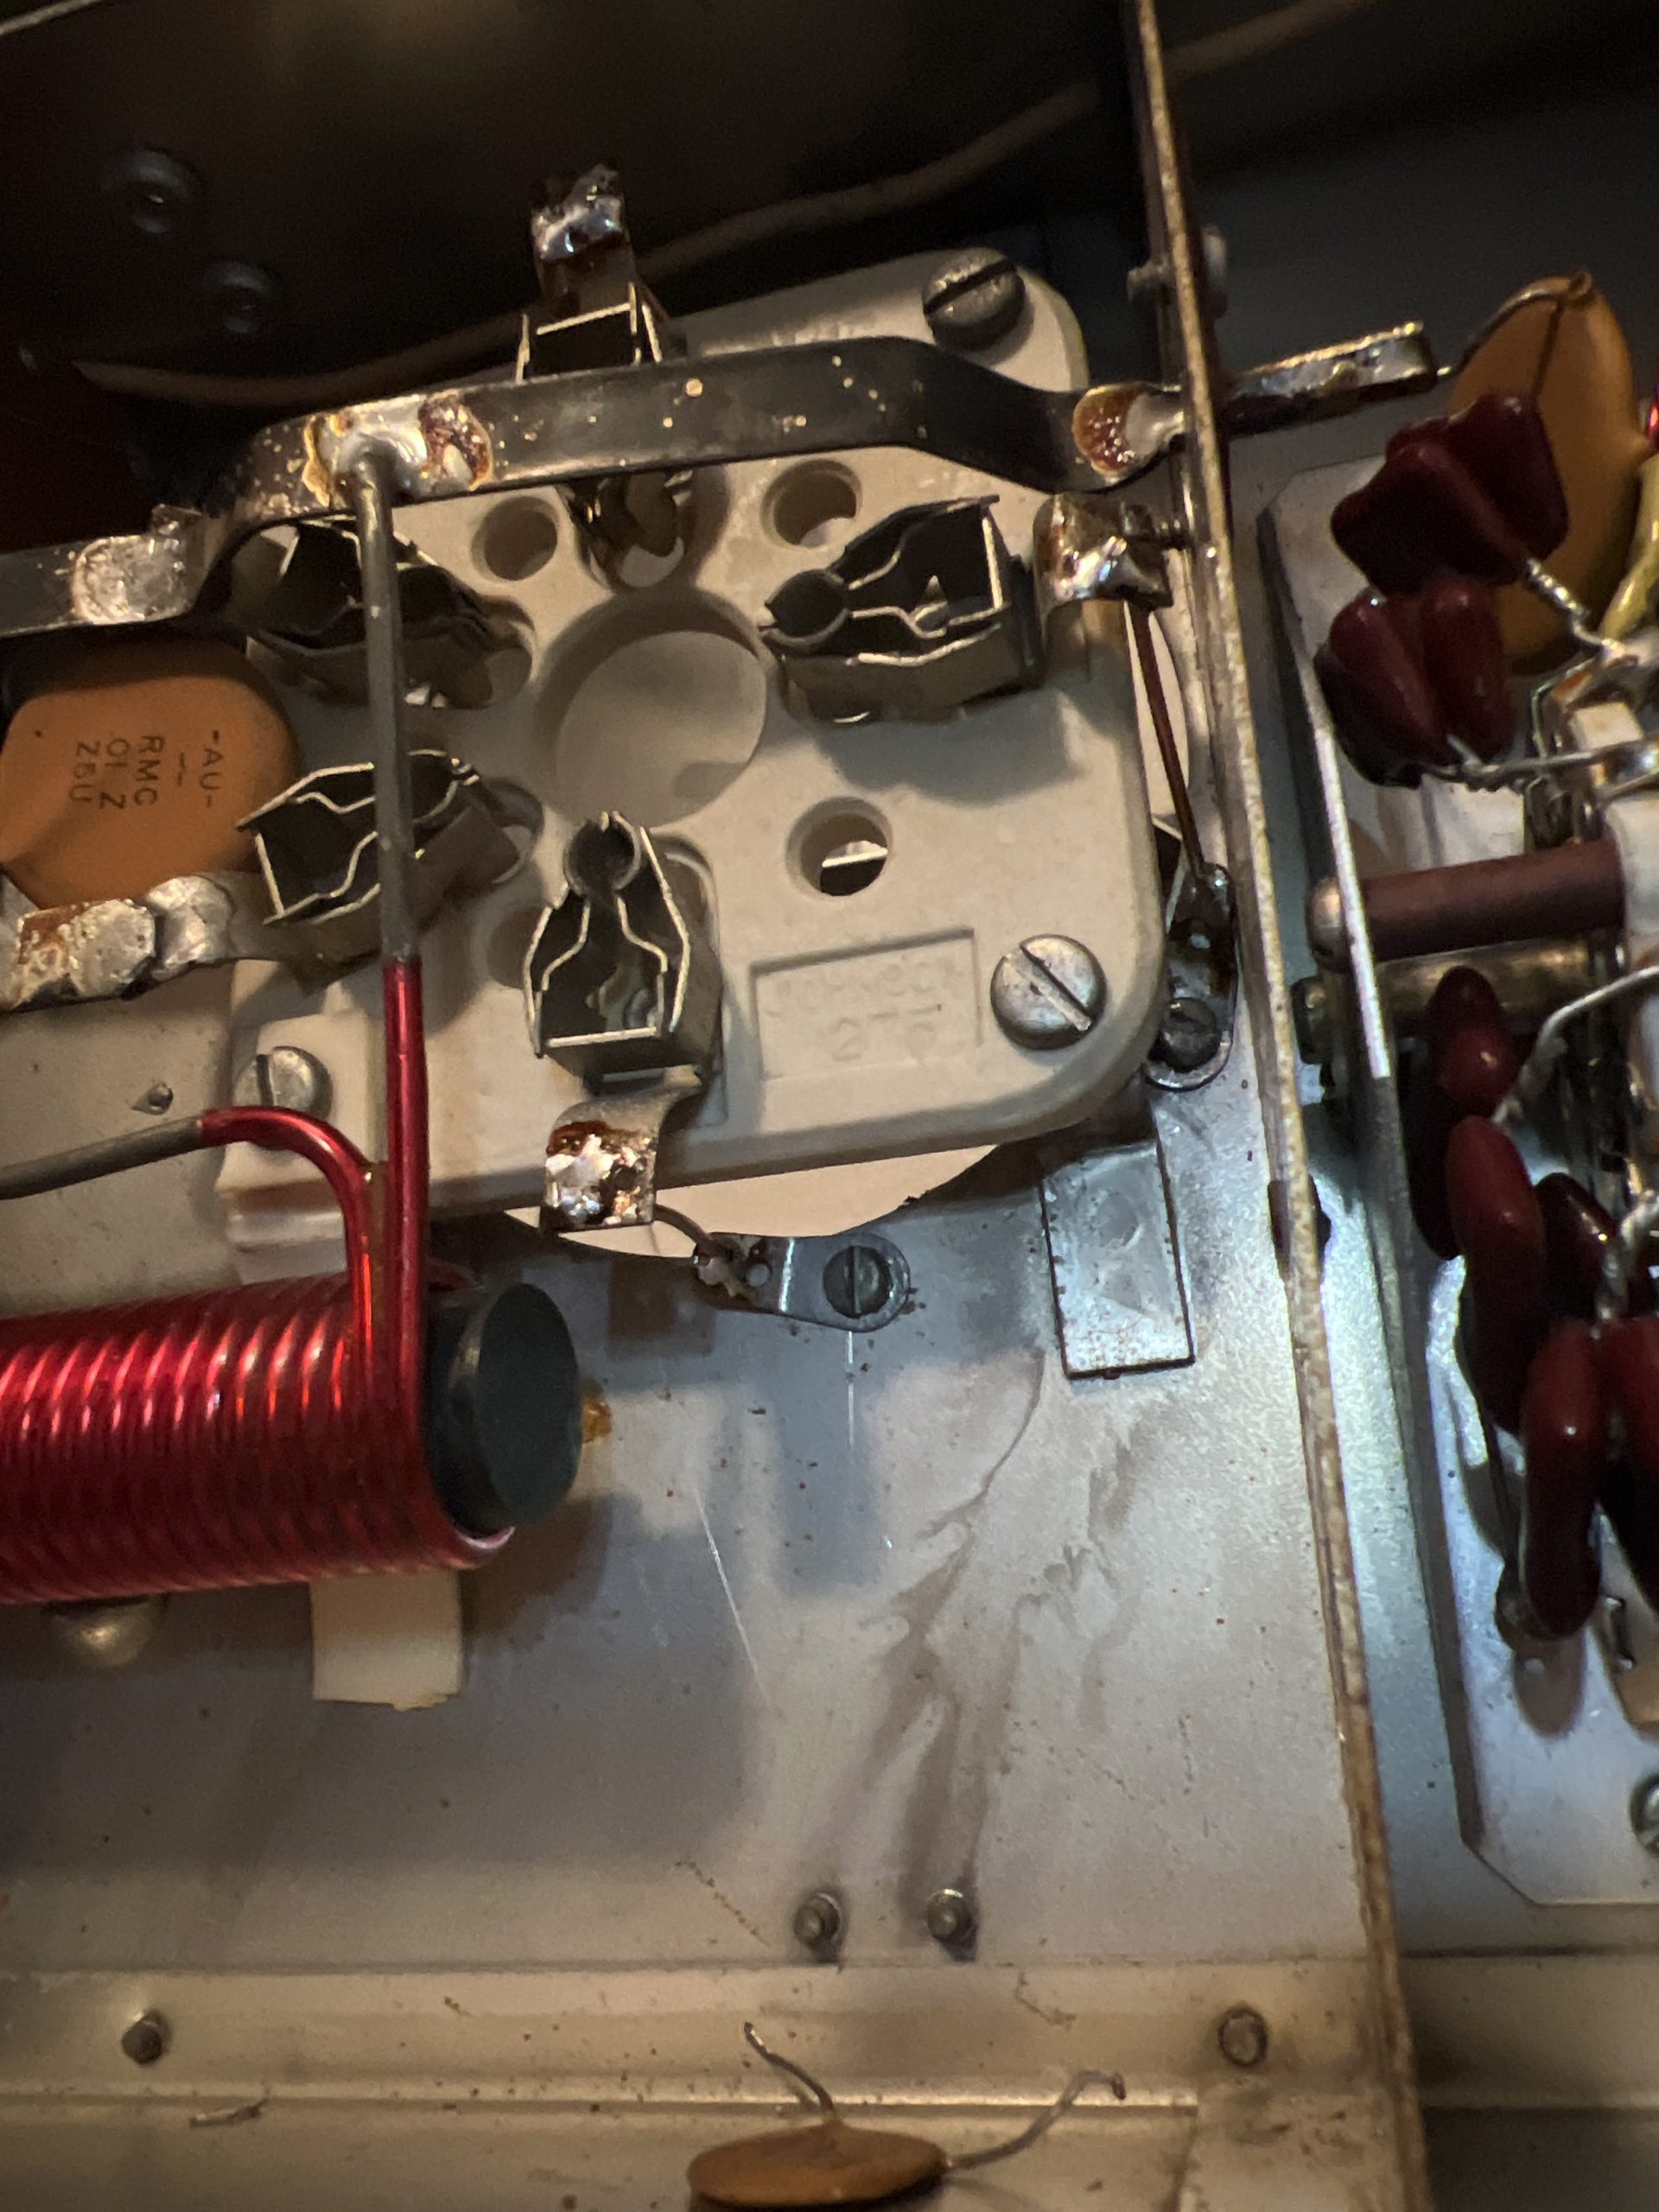
Looking at the first photo, this is how the amp is put together by the factory. I removed the 3 ceramic disk capacitors and the coil in heat tubing, cleaned up the connections with some solder wick and ran short copper wire between the socket tab and the chassis, as seen in the second and third photos. (The second photo, the top tab a capacitor is in the photo. This was removed and grounded.). The right socket next to the matching network for the band select switch was a very tight fit. I managed to get the chassis screw removed after unscrewing the socket, you are able to move it about half an inch. Just be careful screwing it back in as to not crack the ceramic.
After this point, the amp sat for a bit. The Harbach board arrived so I got started on that a few weeks after when I had some time.
The install of the Harbach ES4L4-B was relatively straight forward. They provided some fantastic step by step instructions along with the board. The biggest thing is read through the entire thing, follow along within the amp before getting any tools, then do the work. Read each step thoroughly prior to desoldering, cutting or making changes. While you have it open, you may as well oil the blower as well!

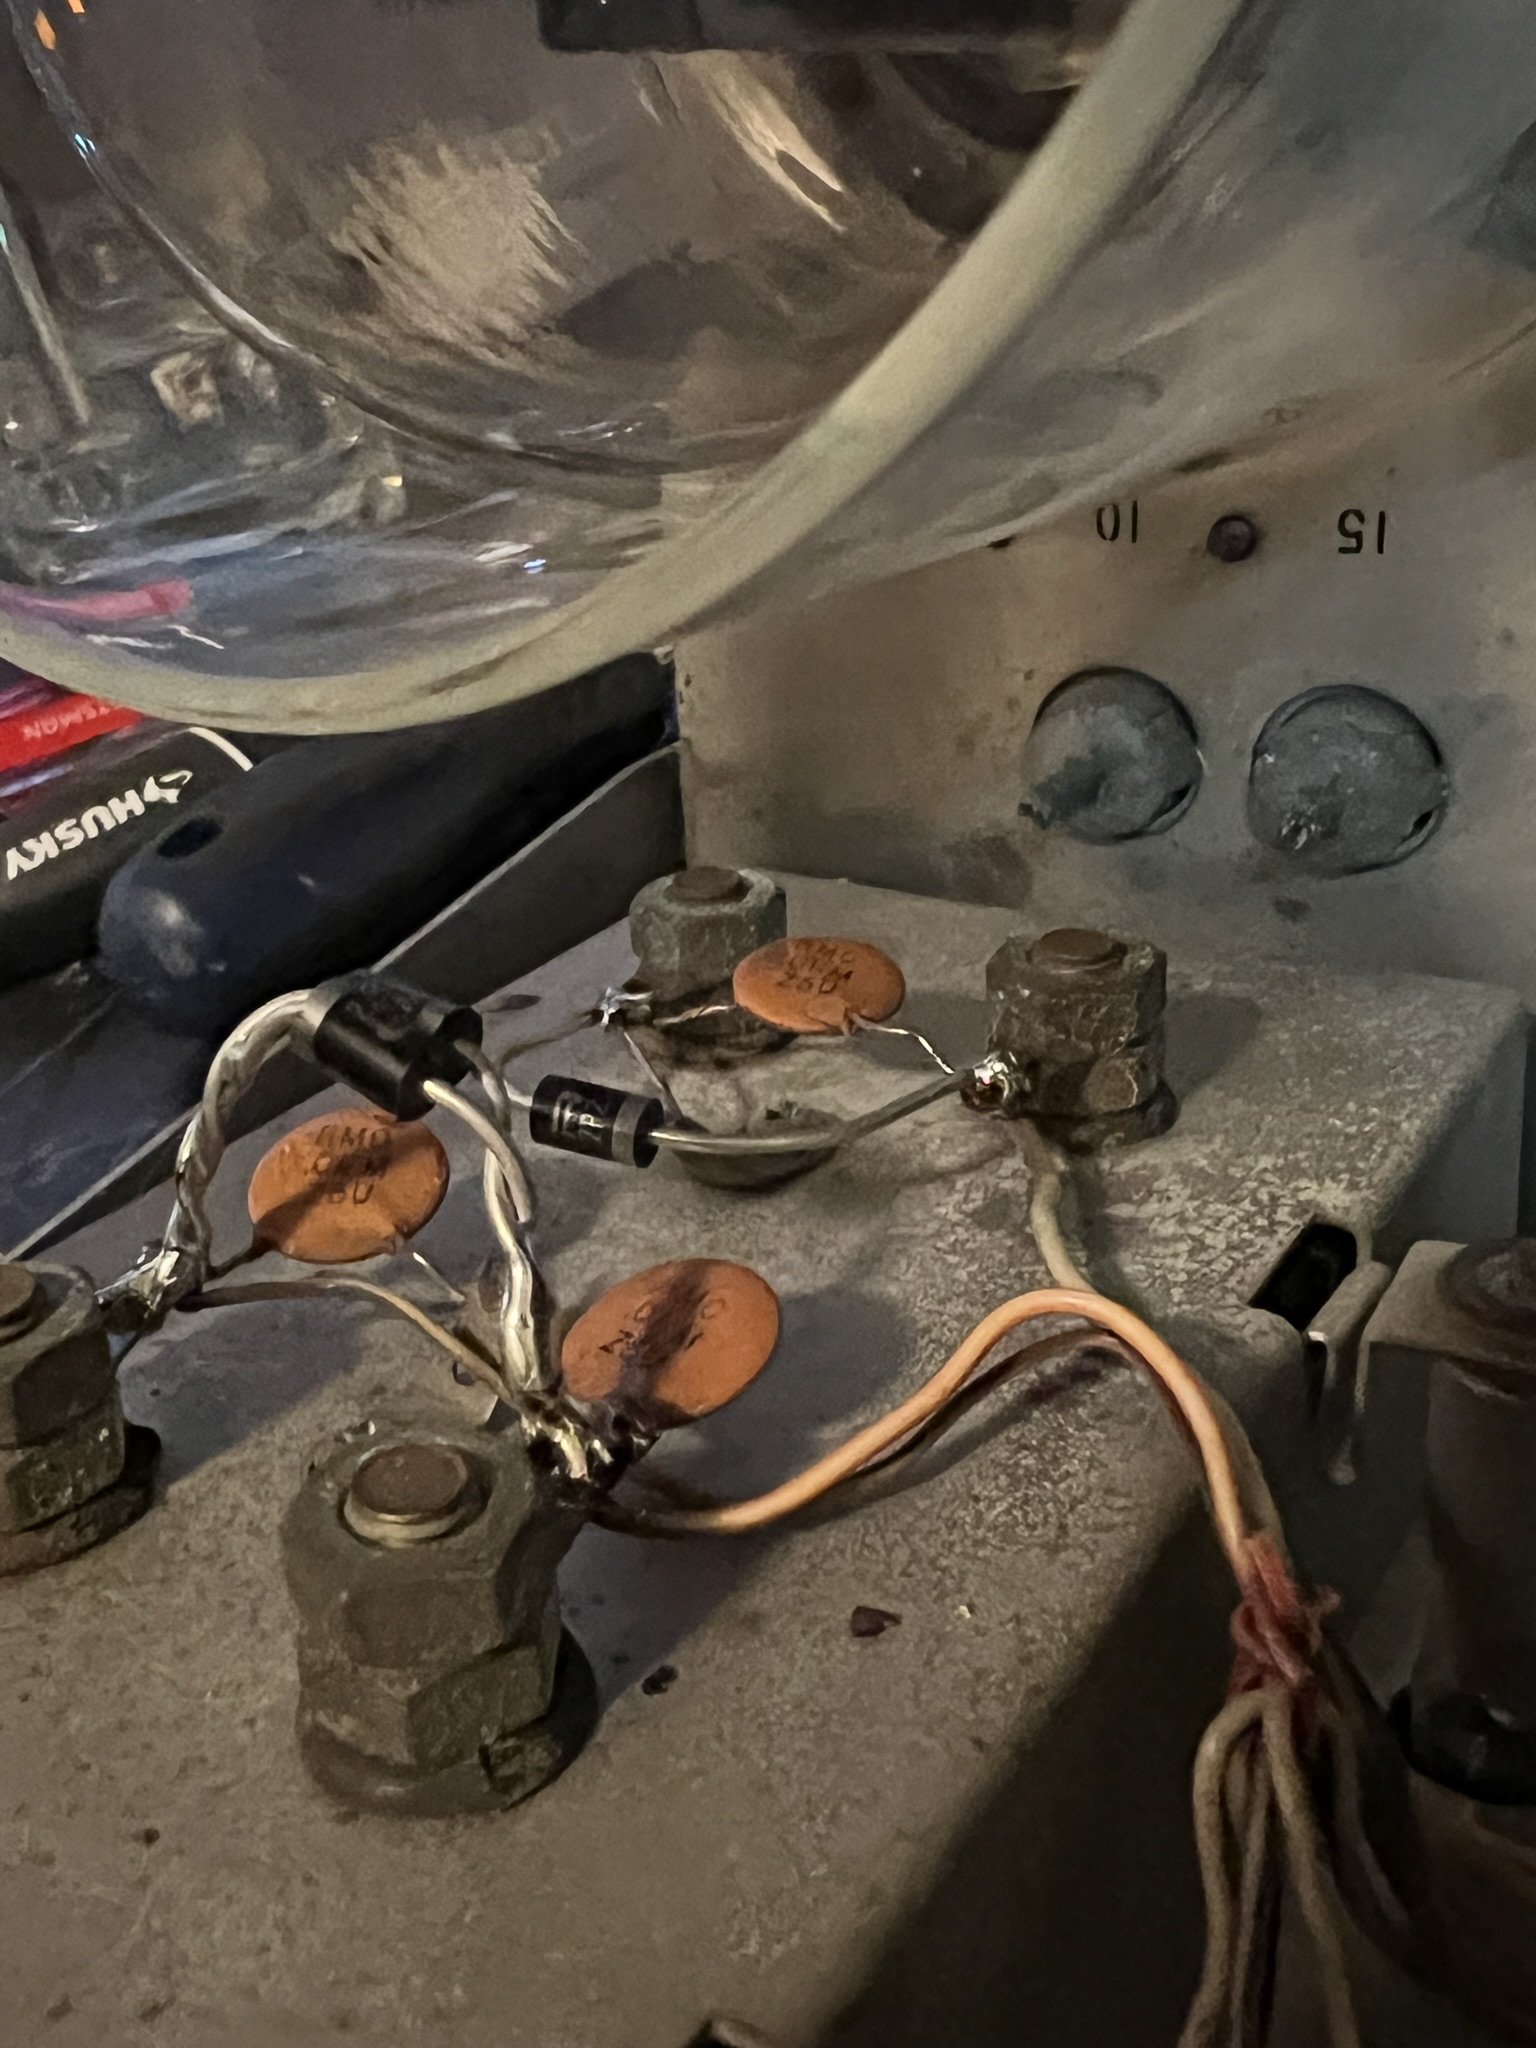
After the Harbach board has been installed, the final mod to do was put protection diodes across the meters. I ordered some 1N5408 diodes, 3 are needed for this but I ordered extra. These are installed in parallel across the top meter, and a single on the bottom meter with the cathode towards the positive.
Once this was installed, I connected the amp to power, and by some miracle, it fired up! I was getting full power out on all bands. It has now replaced my Heathkit SB-200 on the desk as my primary amplifier. I am very happy with the performance of it and even more happy my first intro into working on tube gear was a success.